Get  Today!
Get the best version of DivX® Software ever. Enjoy an unparalleled video experience with an advanced video player and video converter. All for free.

New. Improved. Amazing.
Download award-winning DivX Software to play, convert and organize your favorite videos, including DivX®, AVI, MKV, and HEVC (Windows only) up to 4K. Available for free on Windows and Mac.

Play It All
Enjoy high-quality video up to 4K from a variety of video formats such as AVI, DIVX, MKV and MP4. You can even immerse yourself in spectacular 360° video!

Convert
Simply drag and drop files to create videos compatible with DivX Certified devices or easily convert to MP4 for playback on iPhones and more.

Cast Away
Cast videos, music and photos through DivX Software to your TV with DLNA-compatible devices such as Chromecast, Apple TV, Xbox, Roku, Smart TVs and more (Windows version).

Sound Matters
Expand your audio experience with DivX Pro to enjoy incredible AC3 surround sound, plus adjust settings with DivX Audio Enhancer for Windows.
Upgrade For The Best Experience
GET 
Video Pack
Add support to convert unencrypted MPEG-2 and VC-1 files (e.g. backup Blu-ray or DVD discs).
Cloud Connect
Easily download videos from (Win only) or upload to Google Drive or Dropbox.
Ad-Free
Enjoy DivX Software without seeing ads anywhere.
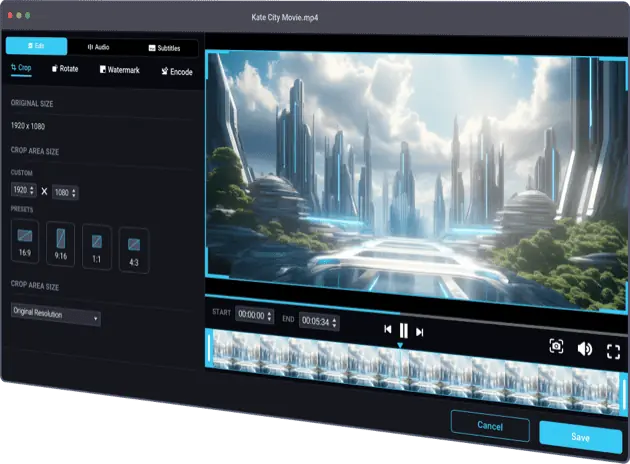
Basic Editing
Easily trim the beginning or end of video files before converting.
HEVC Optimized
Get incredible HEVC support – high quality, small file size – for playing and converting (Windows version).
Advanced Features
Unlock a variety of additional features (custom encode settings, set B-Frames) for advanced video conversion.
The Playback You Deserve
Life’s too short to accept anything less than amazing video experiences. Use a video player that optimizes your playback, gives you great audio and puts you in control.


Take Control of Your Video
Video formats can be confusing. DivX Software makes it easy to convert video to more accessible file types, make minor edits and save file space without losing quality.


Beyond the Computer
Take advantage of your big screen TV! Enable the media server in DivX Software for Windows to easily cast your video from your computer to your TV. It’s that easy.
FREE DOWNLOAD

Check Our Blog
Discover the latest insights and trends in the world of DivX through our blog. Read guides, tutorials and informative posts to learn about DivX technology and tons more.

Get Support
Learn how to maximize what DivX Software can do for you! Connect with our support team to ask questions or find answers on all things DivX.